Installing the UniFi VoIP Controller on a Cloud Key and Fixing a Java Dependency
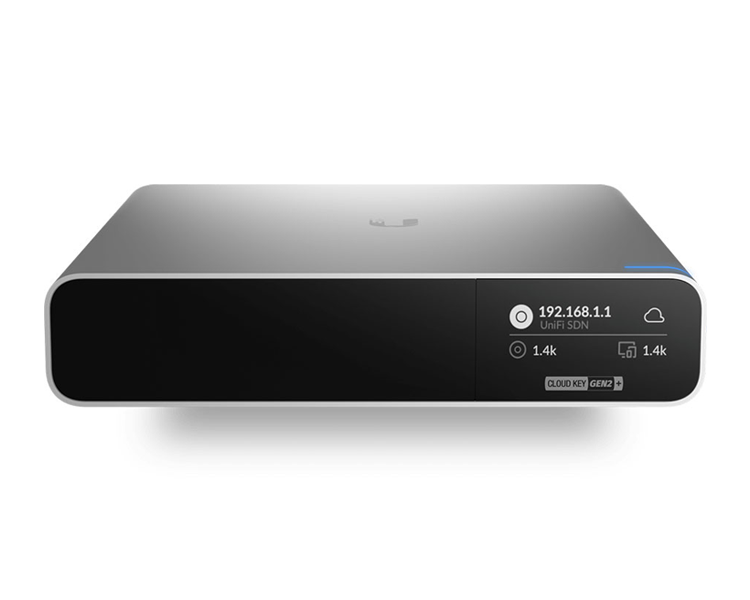
Tested with UniFi CloudKey Gen2 Plus v.1.0.6 and UniFi VoIP Controller v1.0.1 1. Use wget to download the UniFi VoIP Controller installer from the official UBNT website to the CloudKey. https://www.ubnt.com/download/unifi-voip
wget https://dl.ubnt.com/unifi-voip/1.0.1-ixdttp/unifi\_voip\_sysvinit\_all.deb
- Go into the system's existing tmp folder and create another temporary folder named tmp for the package we'll edit shortly. cd tmp
mkdir tmp
3. Extract the downloaded deb into the tmp folder you just created.
dpkg-deb -R unifi_voip_sysvinit_all.deb tmp
4. Edit tmp/DEBIAN/control, find the line ending with "openjdk-7-jre-headless", append " openjdk-8-jre-headless", and save. This makes the UniFi VoIP controller compatible with openjdk-8-jre-headless and resolves the dependency issue. 5. Edit tmp/usr/lib/unifi-voip/bin/unifi-voip.init, find "support_java_ver='6 7' ", add 8 so it becomes "support_java_ver='6 7 8'", and save the file. This tells the installer to run Java 8. 6. Repackage the modified deb installer.
dpkg-deb -b tmp fixed.deb
7. Install the modified version.
sudo dpkg -i fixed.deb
8. If the previous command failed, use the following command to resolve the issues. It will install openjdk-8-jre-headless automatically.
sudo apt-get -f install sudo dpkg -i fixed.deb
The controller is now accessible on port 9443: https://server-ip:9443 Update: UniFi VoIP Controller 1.0.5 has fixed this issue.
- Use wget to download the UniFi VoIP Controller installer from the official UBNT website onto the CloudKey. https://www.ubnt.com/download/unifi-voip
wget https://dl.ubnt.com/unifi-voip/1.0.5-kxe7d9/unifi\_voip\_sysvinit\_all.deb
- Installation
sudo dpkg -i unifi_voip_sysvinit_all.deb
Published 06/26/2019 · Krunk Zhou
Join the conversation