Displaying PC temperatures and utilization on a Raspberry Pi's 5-inch screen
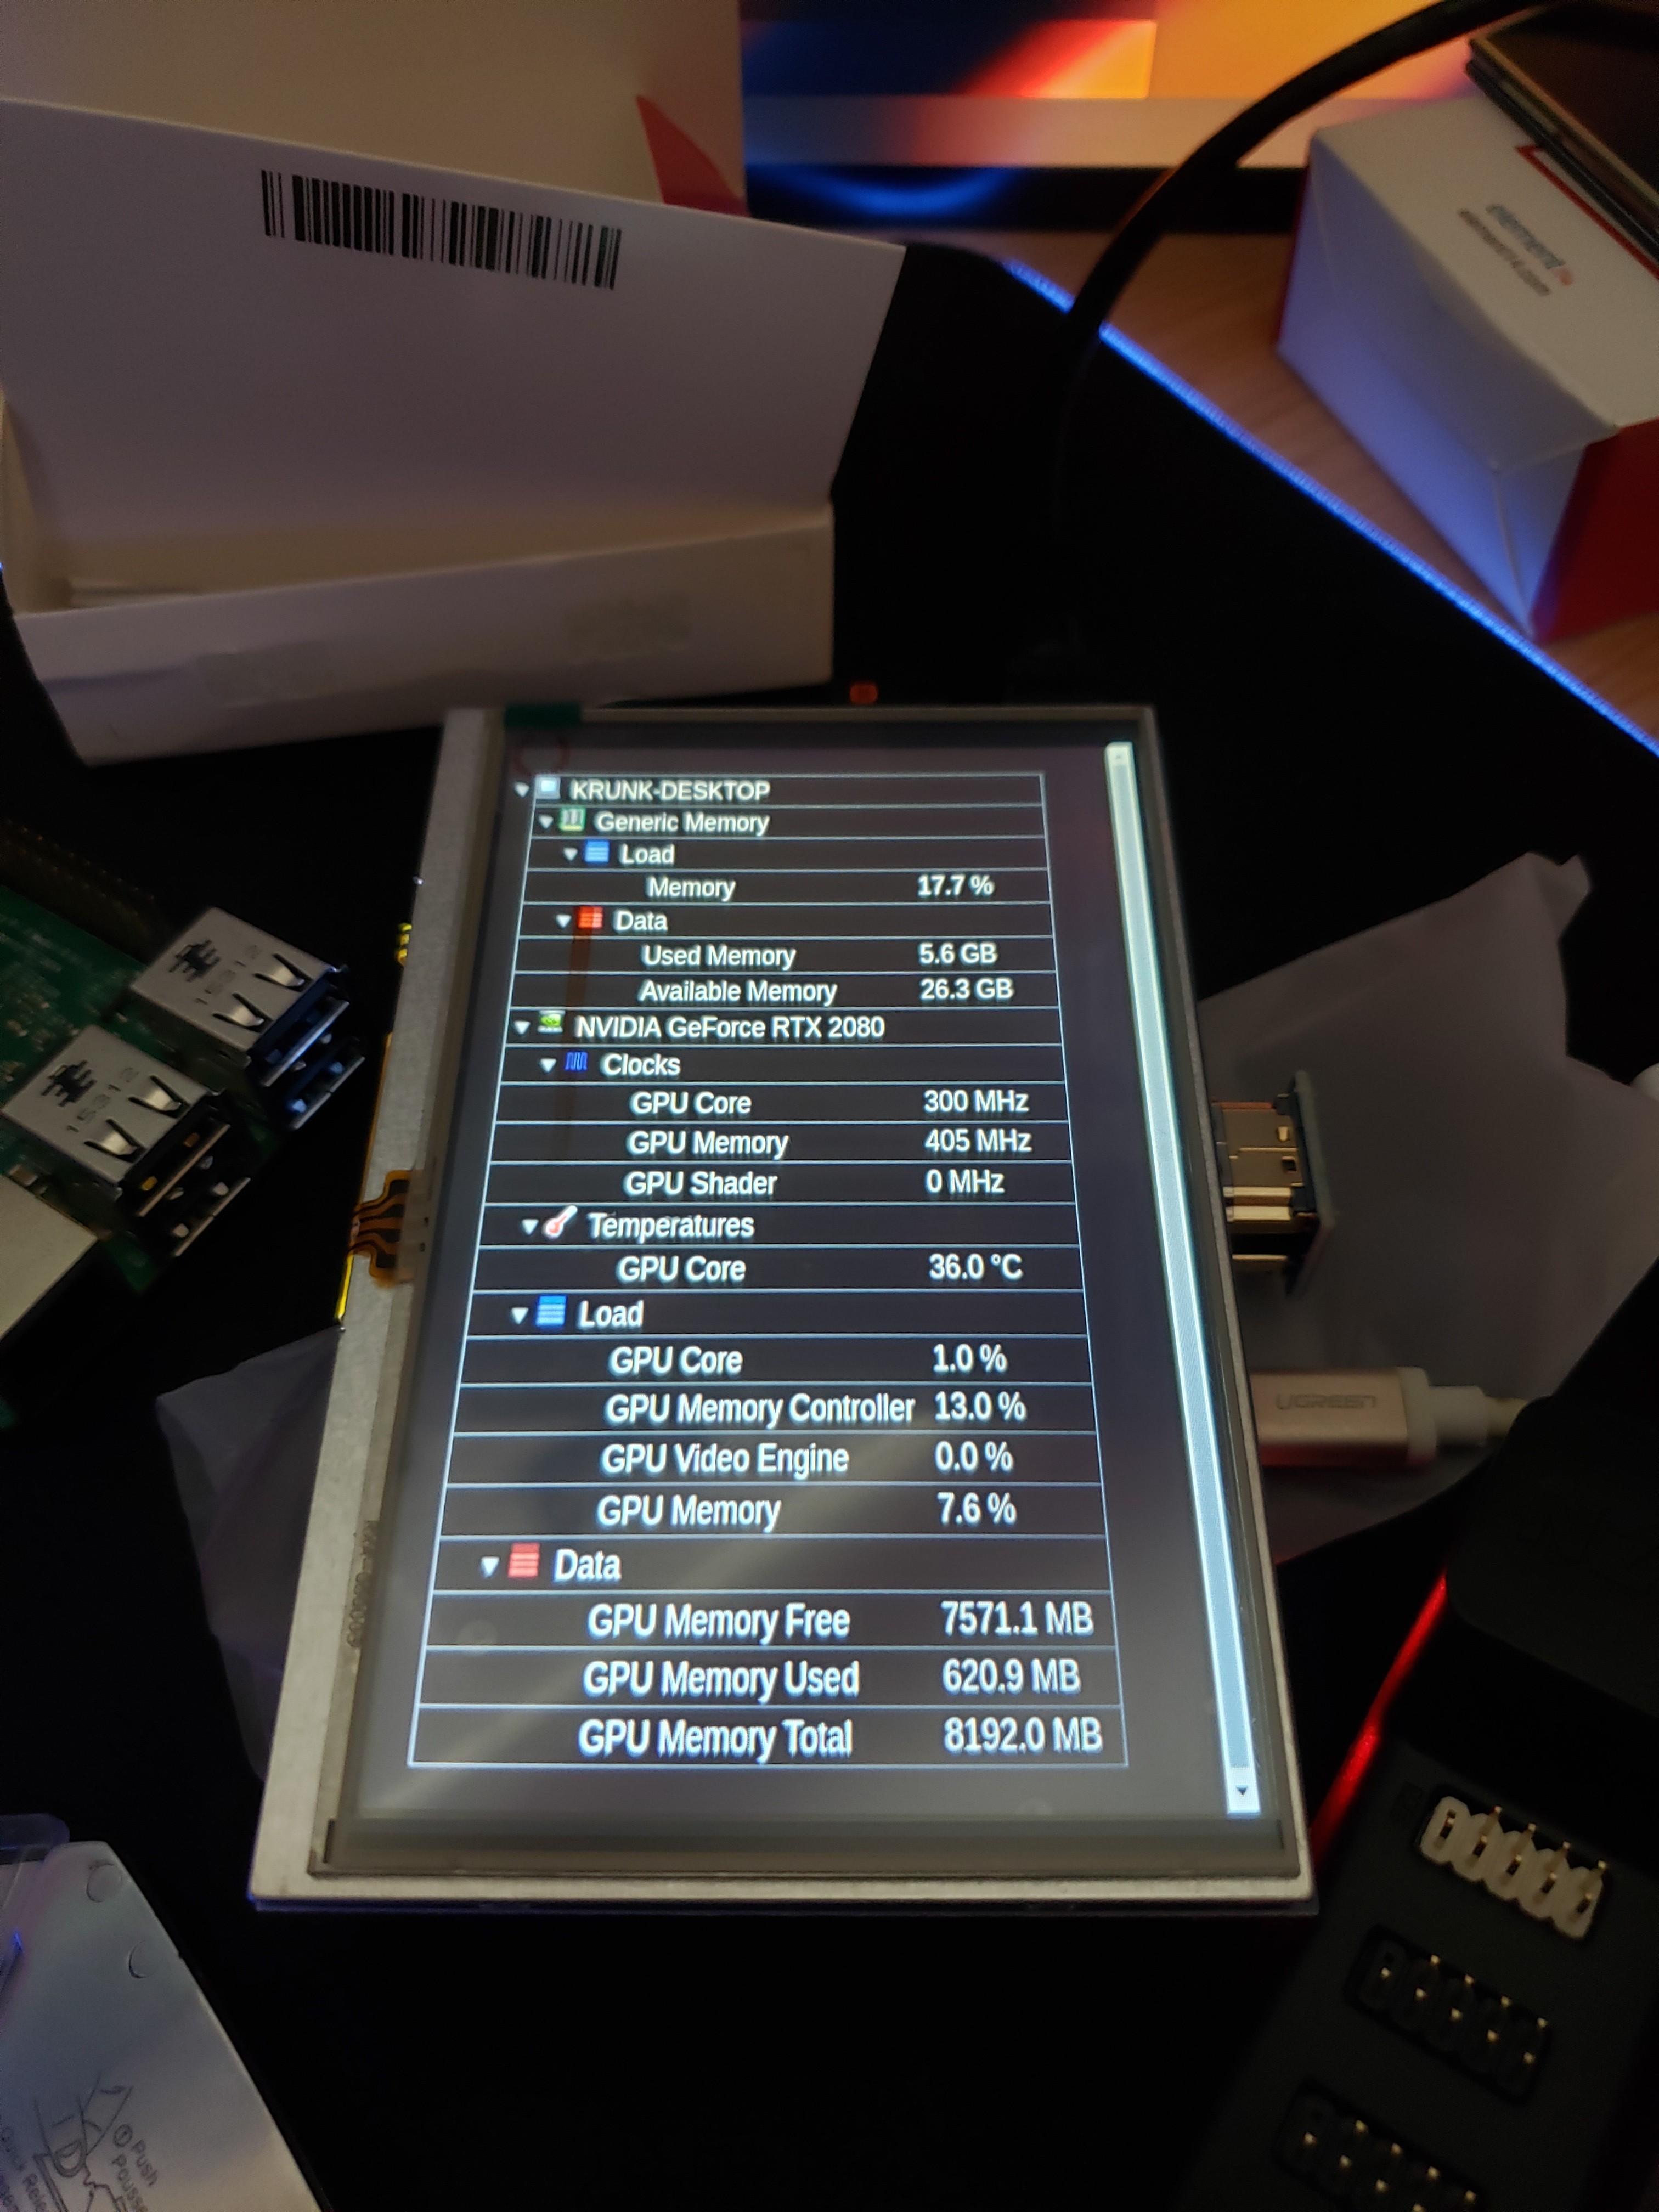
This project displays the PC's status information on a small Raspberry Pi screen, so I no longer need an overlay in the upper-left corner when playing games in full-screen mode. After searching all over the web, I couldn't find a complete solution, so it was time to build one myself. First, here are some pictures of the result: 
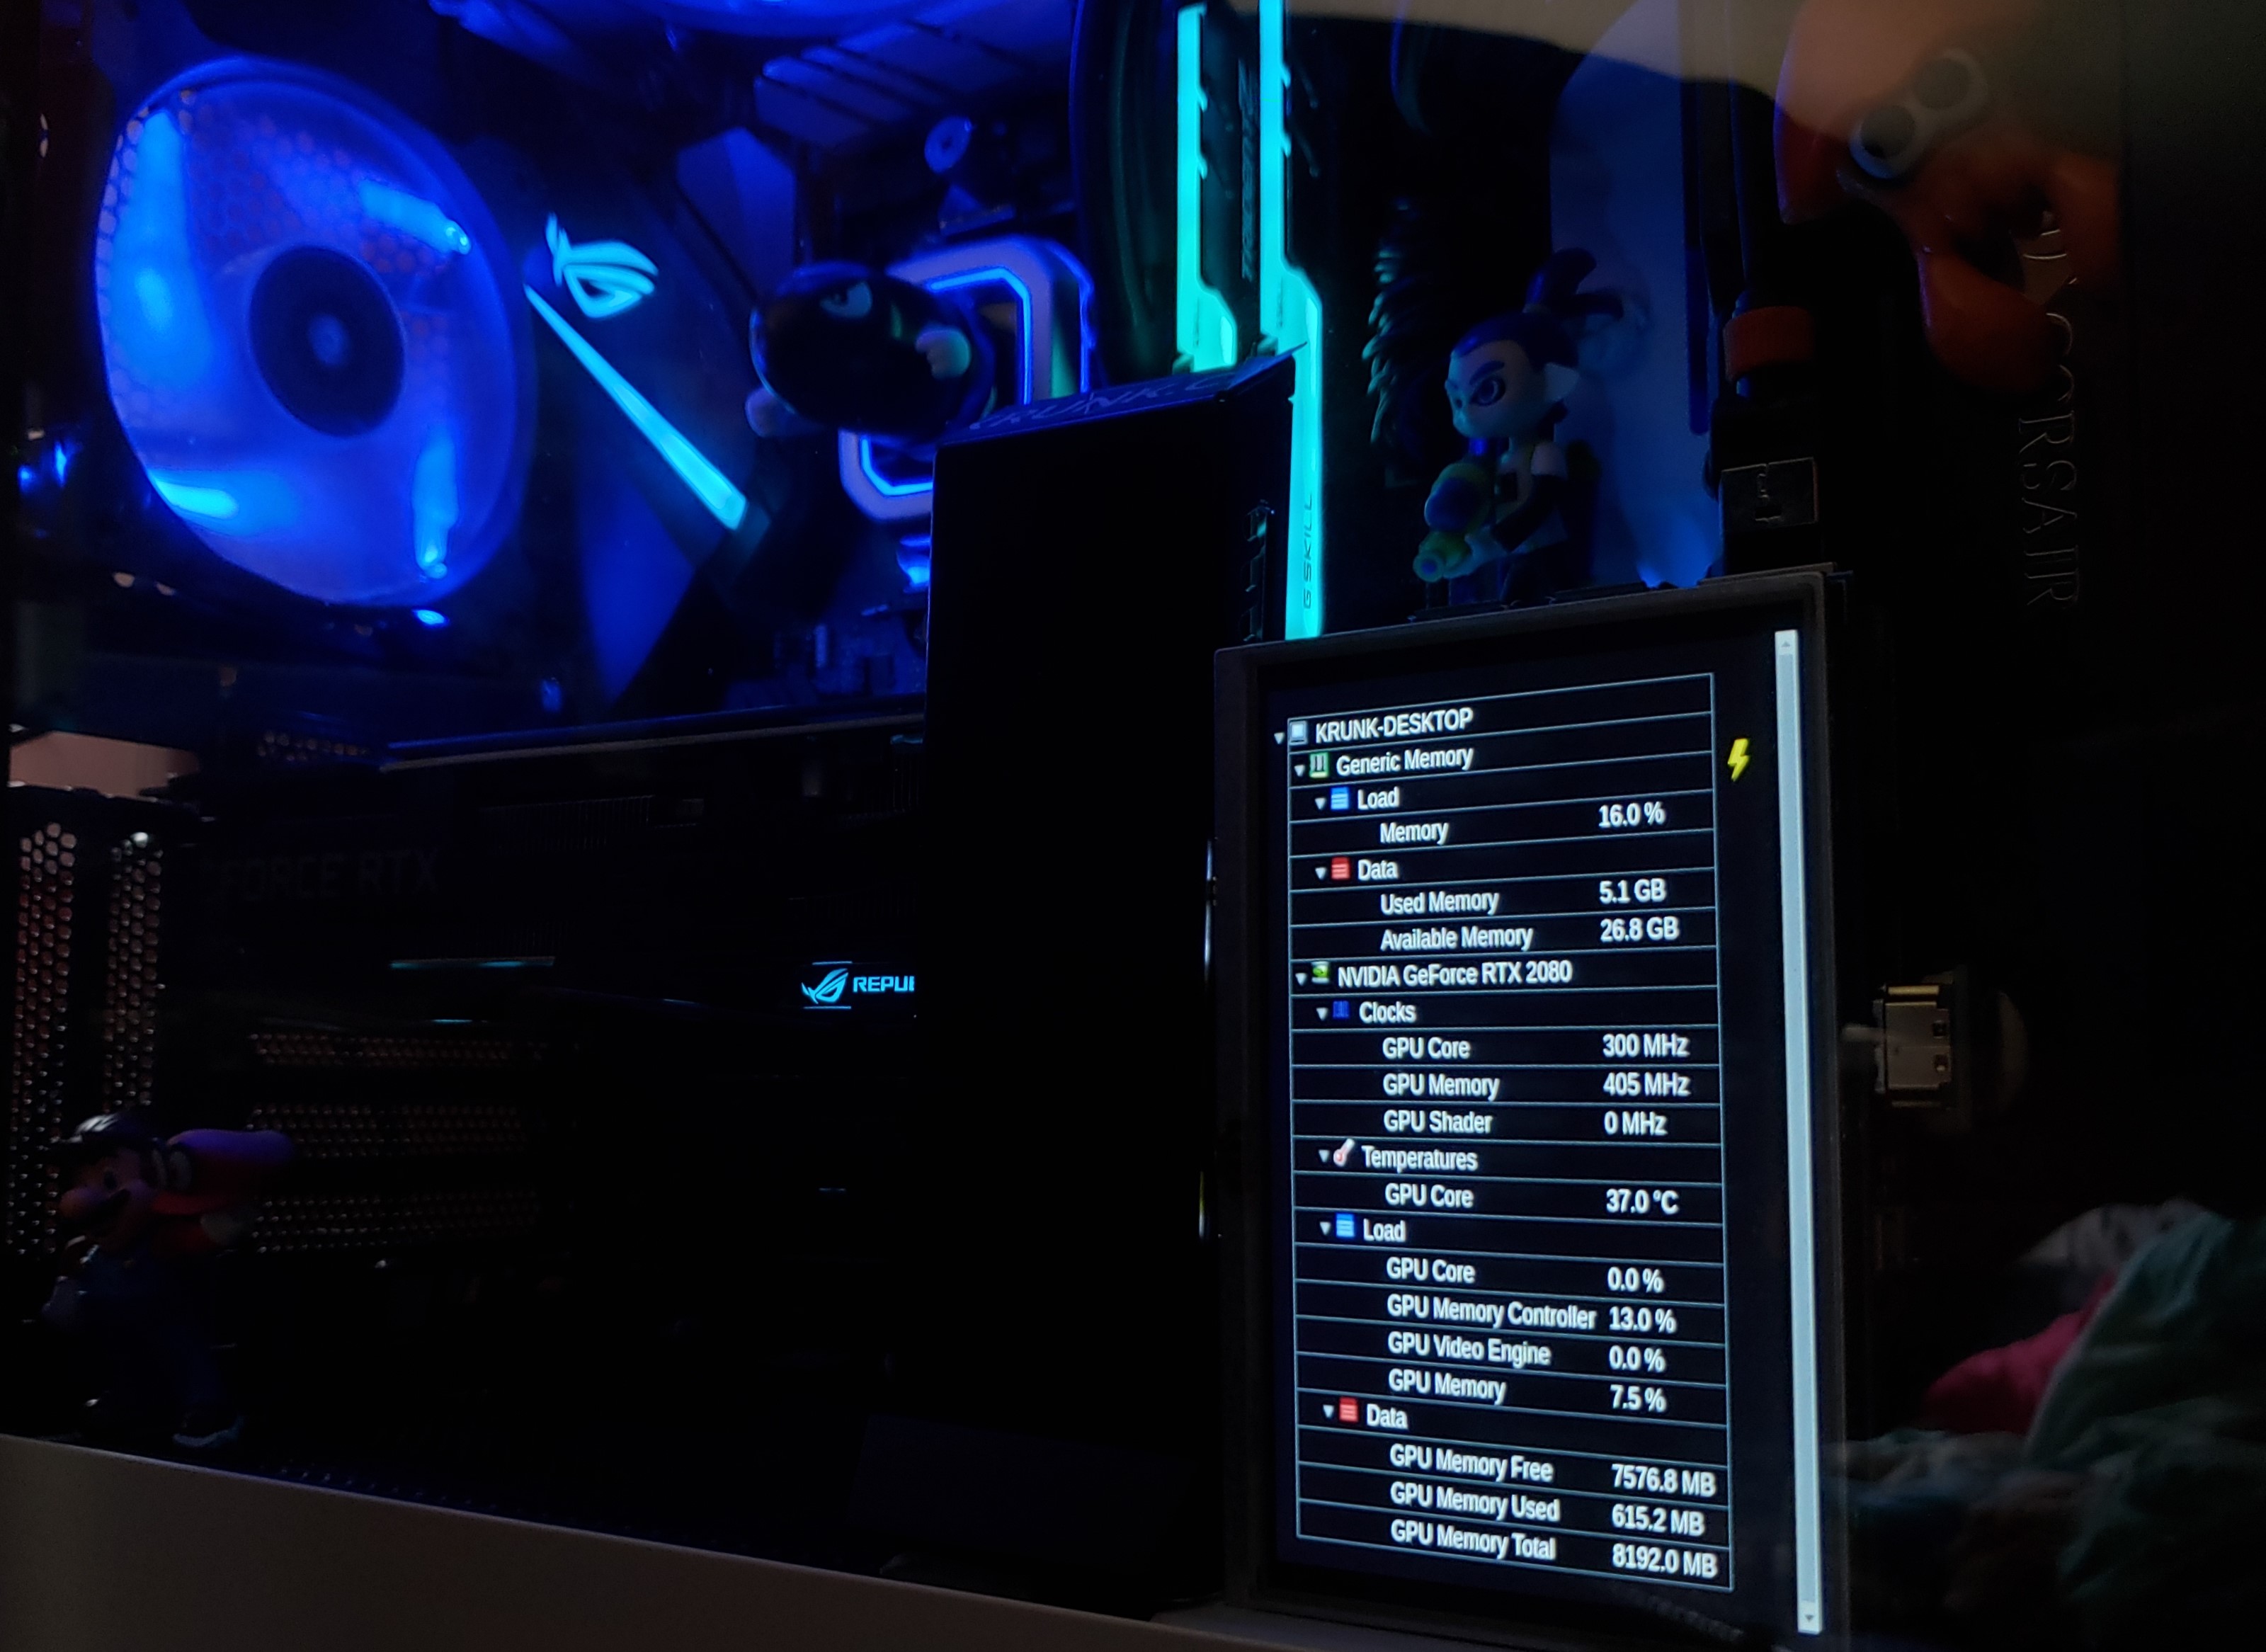
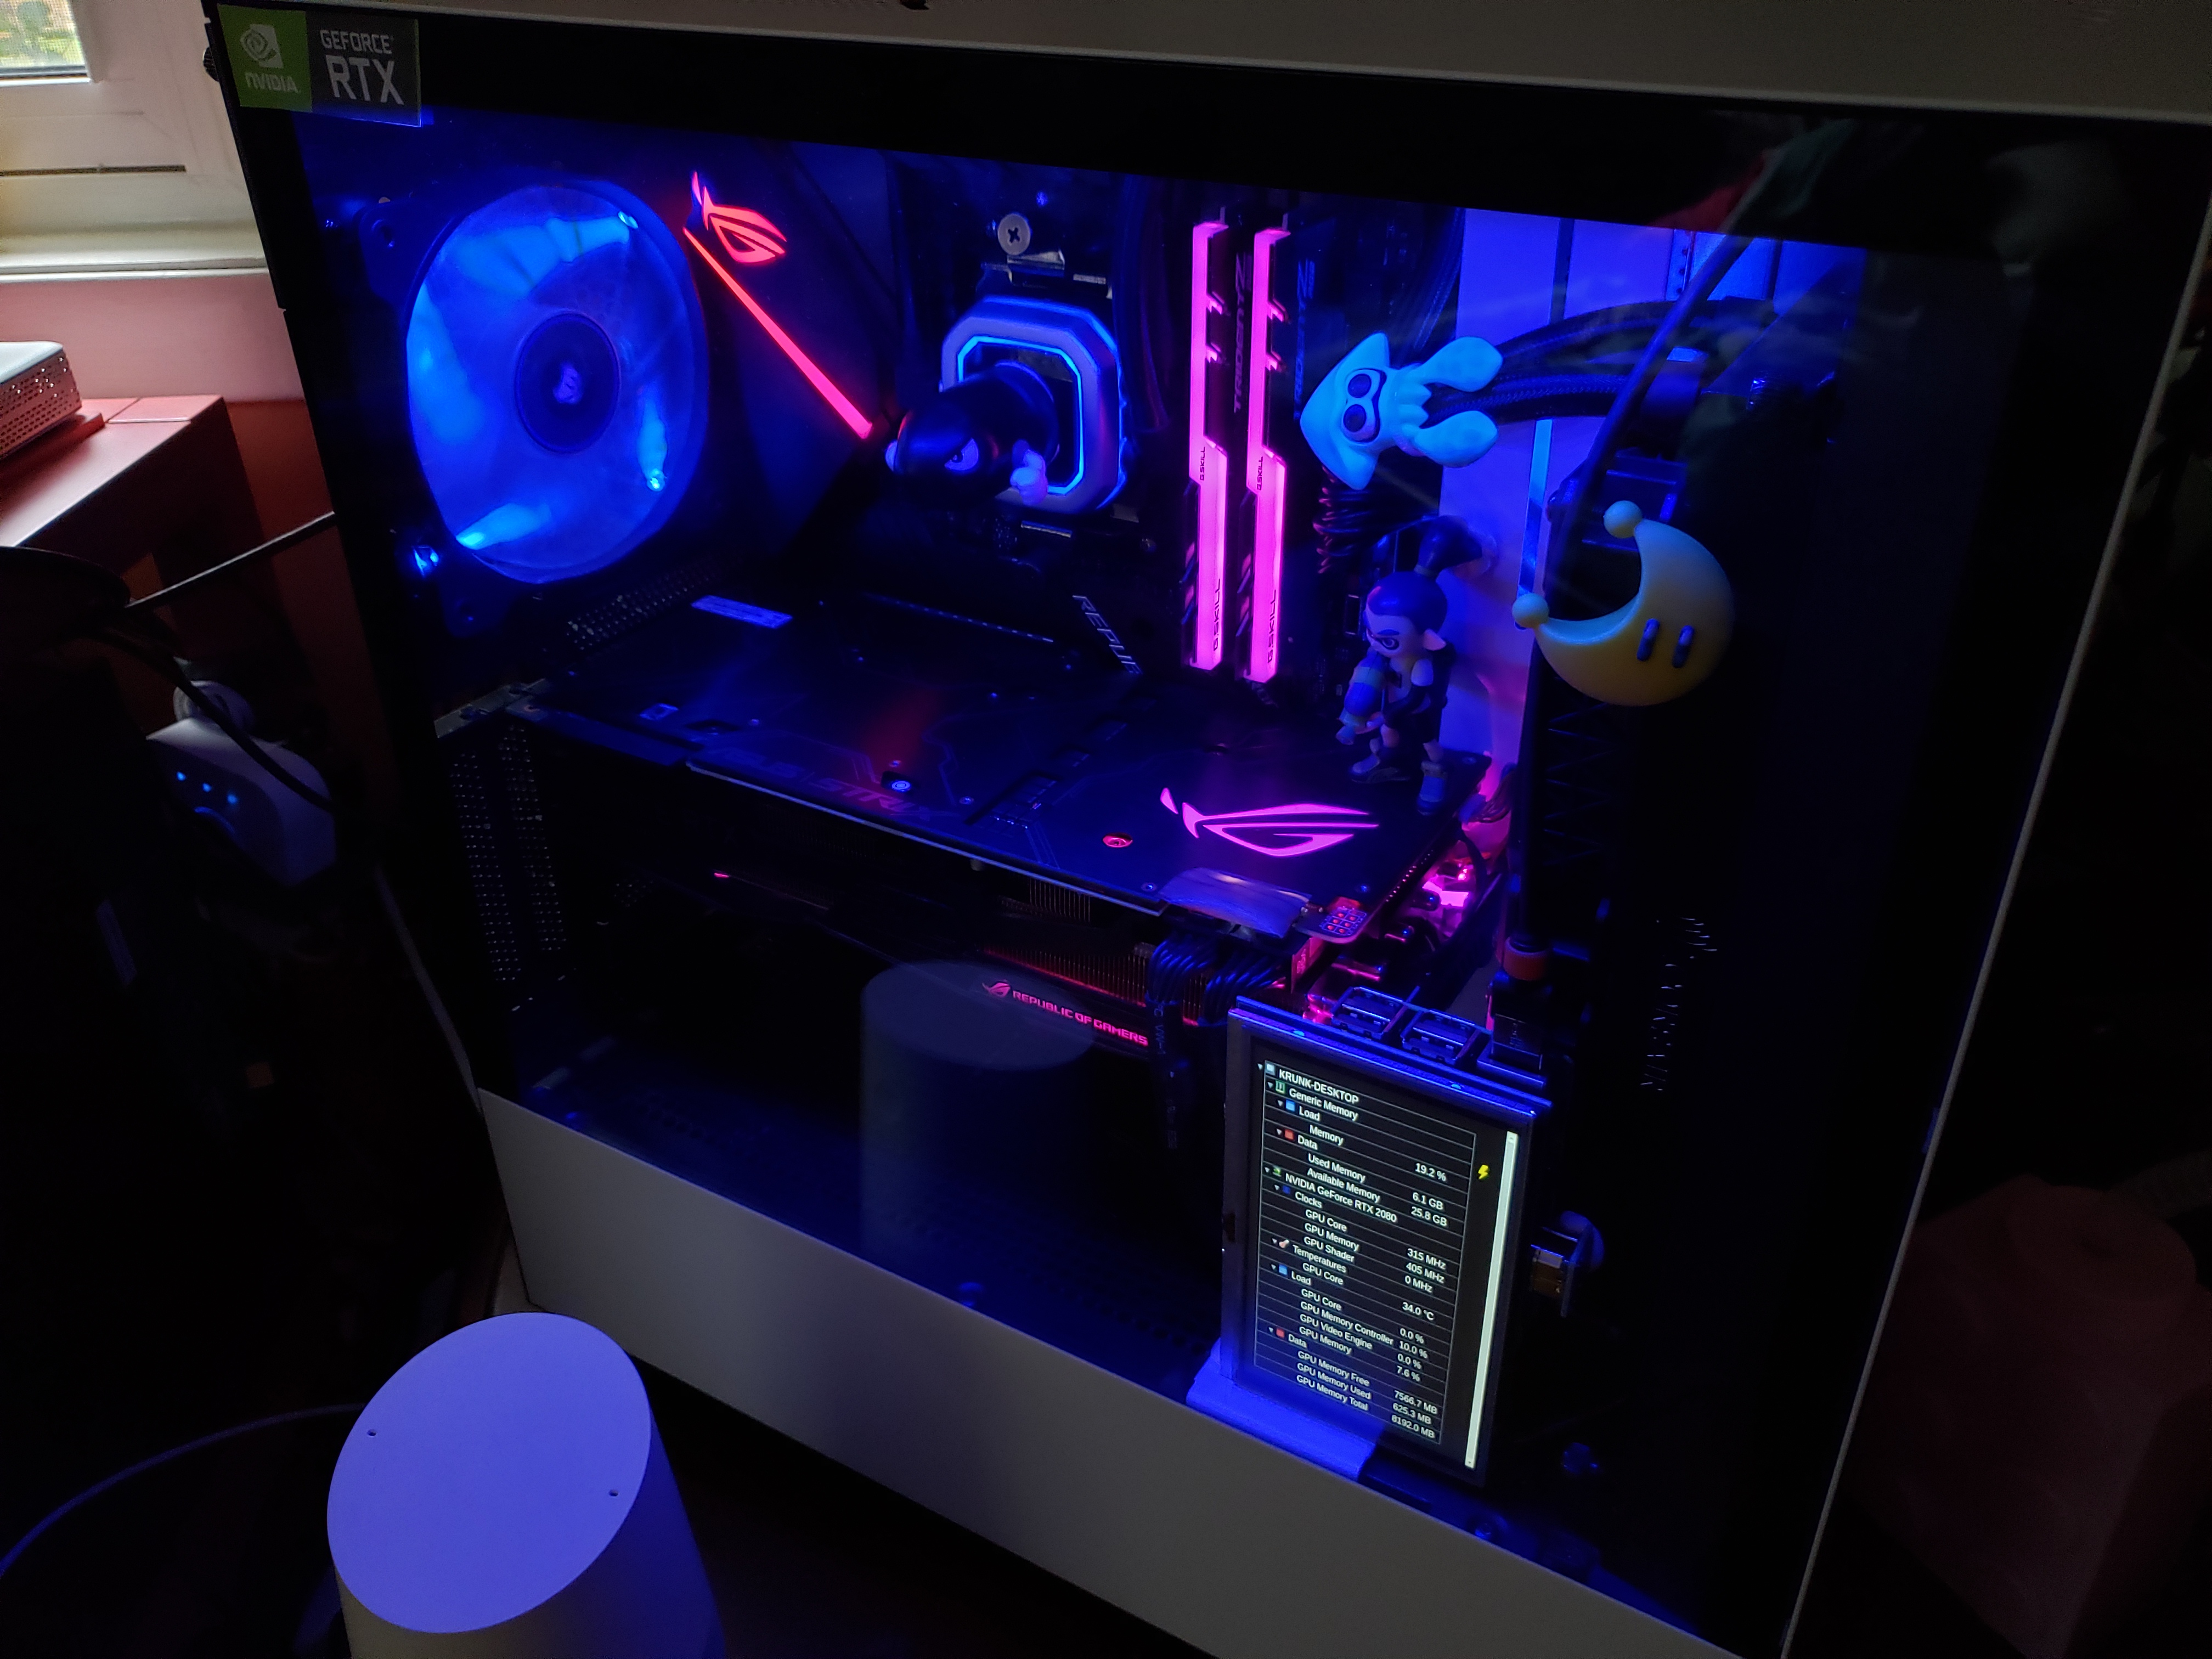
On the Computer:
Method 1. Use the Resource Monitor I Compiled I modified the web files for compatibility with a 5-inch Raspberry Pi display, switched to dark mode, and enabled automatic refresh every 100 ms. I also simplified the program, translated it into Chinese, and added comments to make it easier to use. Download: [need_reply]http://d.krunk.cn/Blog_Download/RaspiHardwareMonitor/HardwareMonitorIndex.zip Mirror: https://www.lanzous.com/i4xhb0f[/need_reply] 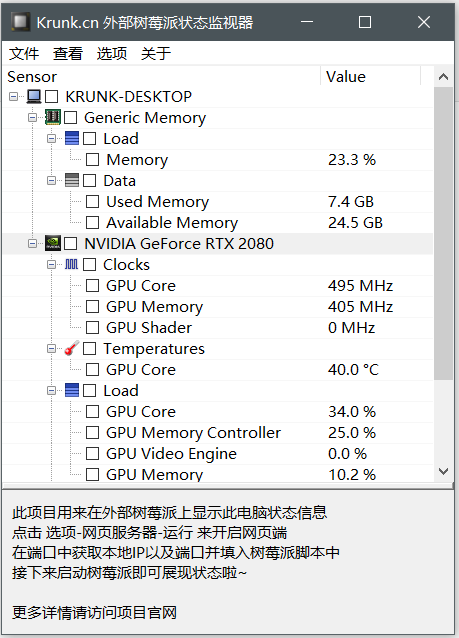
This project is based on Open Hardware Monitor. Method 2: Modify and compile the program yourself Download the Open Hardware Monitor source and modify its web component: https://github.com/openhardwaremonitor/openhardwaremonitor. Open the sln project file in Visual Studio 2019. Edit index.html and the CSS files in the Web folder under Resources to make the interface fit the Raspberry Pi screen and improve its appearance. To enable automatic refresh by default or change its frequency, edit ohm_web.js. My web files: [need_reply]http://d.krunk.cn/Blog_Download/RaspiHardwareMonitor/HardwareMonitorIndex.zip Mirror: https://www.lanzous.com/i4xhati[/need_reply] 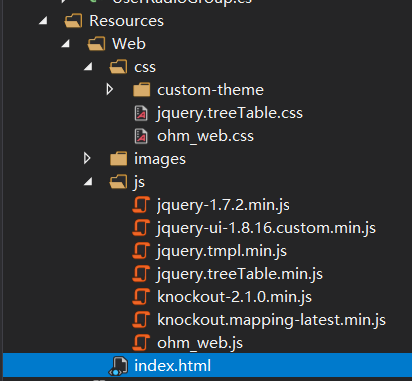 Once you have finished editing, click Build and use the resulting executable. Start the hardware monitor Click Options -- Remote Web Server -- Run to enable the web interface. Find the local IP address and port under Options -- Remote Web Server -- Port, and note them down to enter in the Raspberry Pi script later. Under Options, enable “Start Minimized,” “Minimize To Tray,” “Minimize On Close,” and “Run On Windows Startup.”
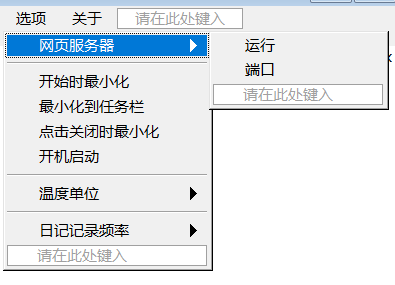 Next, try opening the IP address and port: http://你的IP:8085/
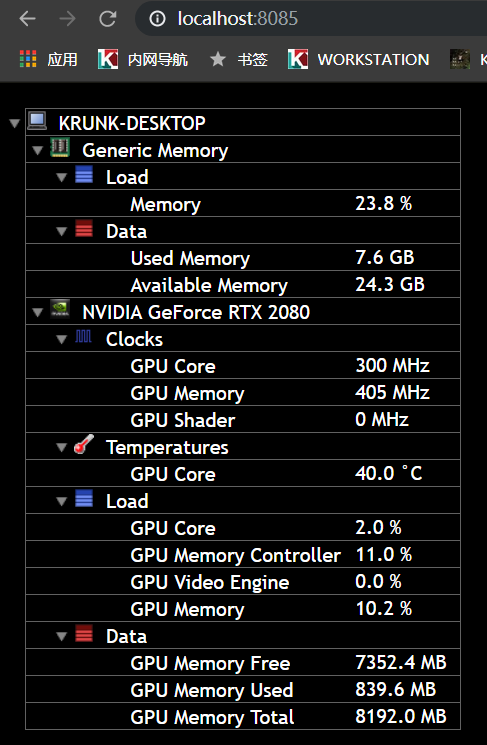 (This is an early version; the actual interface may differ.) Try opening it from another device on your local network too. If other devices cannot access it, configure the firewall port. You can then change which hardware is shown under File -- Show Items.
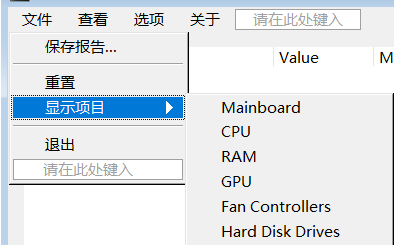 If everything works so far, the PC side is nearly ready! Automatic shutdown (optional): If you want the Raspberry Pi to shut down before the PC does, you can use plink to send the shutdown command. Create a new bat file.
@echo off start "" "C:\Program Files (x86)\PuTTY\PLINK.EXE" -ssh pi@RaspberryPiIP -pw RaspberryPiPassword -batch -v sudo shutdown now
Open the Group Policy Editor, gpedit.msc. Go to Computer Configuration -- Windows Settings -- Scripts (Startup/Shutdown), double-click “Shutdown,” then choose Add -- Browse and add the file you just created. This runs PowerOffRaspi.bat before shutdown. 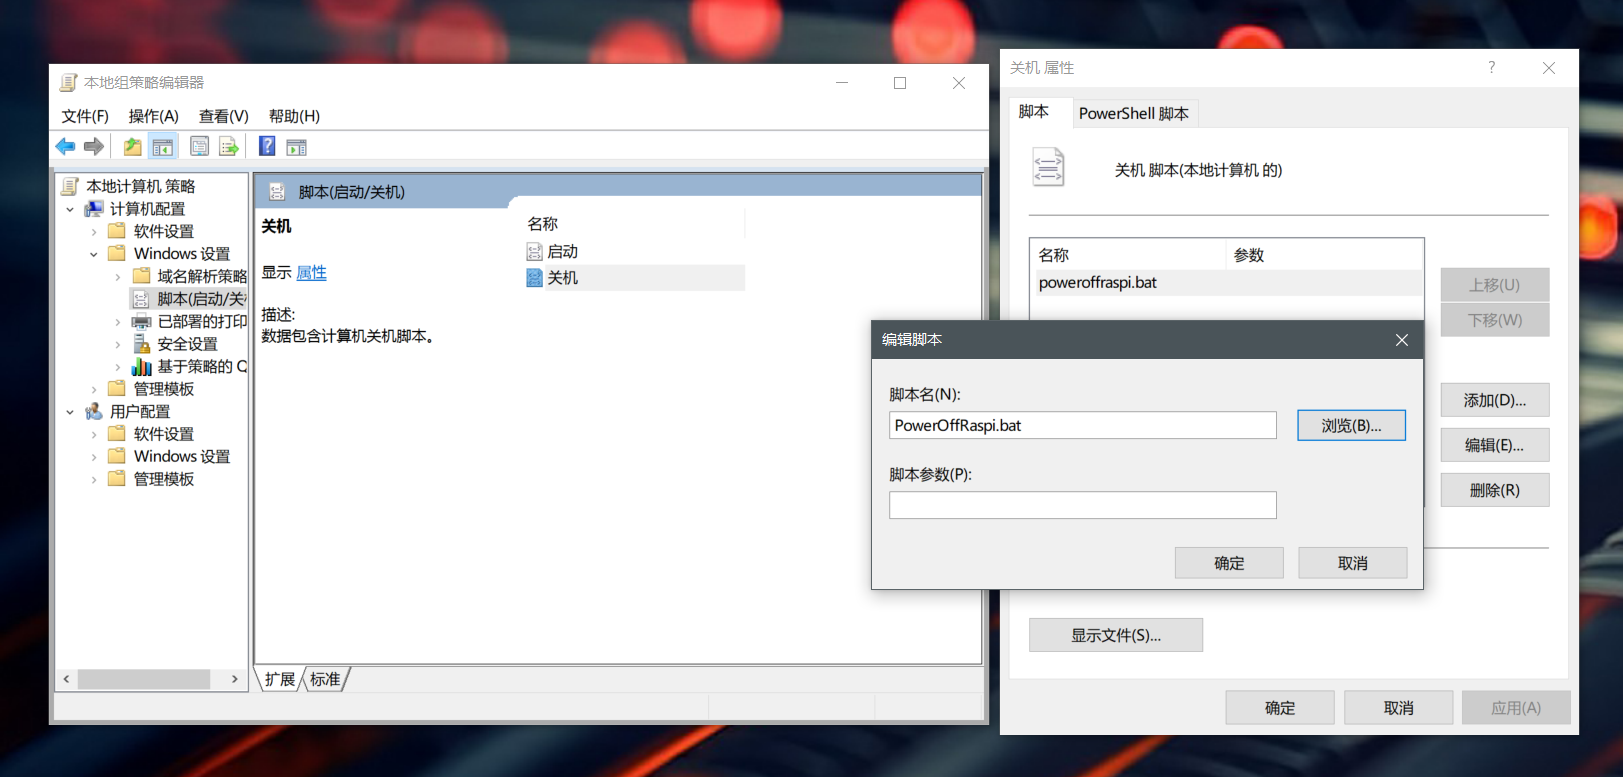
On the Raspberry Pi:
First, flash the latest Raspbian and connect to the Raspberry Pi over SSH (click here if SSH isn't enabled). 1. Rotate the screen (optional; I rotated mine by 270°) Edit the boot configuration file.
sudo nano /boot/config.txt
Add one of the following lines:
display_rotate=0
No rotation
display_rotate=1
Rotate 90°
display_rotate=2
Rotate 180°
display_rotate=3
Rotate 270°
display_rotate=0x10000
Flip horizontally
display_rotate=0x20000
Flip vertically. Note: this method makes a permanent change. 2. Check whether Google Chromium is installed on your system. If not, download and install Google's Chromium browser first. 3. Configure Chromium to launch in the graphical interface:
cd /home/pi/.config mkdir autostart cd autostart
4. Then create a file named my.desktop in the autostart directory:
sudo vi my.desktop
File contents:
[Desktop Entry] Type=Application Exec=chromium-browser --disable-session-crashed-bubble --disable-popup-blocking --no-first-run --disable-desktop-notifications --kiosk "http://ws.krunk.cn:8085/"
Change the URL above to your computer's IP address and port, then save and exit. 5. Install Unclutter if you want the mouse pointer to disappear when it's idle.
sudo apt-get install unclutter
6. Finally, restart to see the result.
sudo reboot
Tidying up the boot screen:
I connected the power cable directly to a USB hub inside the PC case, so the Pi powers on and off with the PC. That means I see its boot screen every time. Even my PC shows my own logo when it boots, so why not change the Raspberry Pi's too? Remove the rainbow square at startup Open “/boot/config.txt” as root.
sudo nano /boot/config.txt
Then add this line at the end.
disable_splash=1
Remove the Text Beneath the Startup Splash Screen Open “/usr/share/plymouth/themes/pix/pix.script” as root.
sudo nano /usr/share/plymouth/themes/pix/pix.script
Comment out or remove these four lines:
message_sprite = Sprite();
message_sprite.SetPosition(screen_width * 0.1, screen_height * 0.9, 10000);
my_image = Image.Text(text, 1, 1, 1);
message_sprite.SetImage(my_image);
Remove the boot text Open “/boot/cmdline.txt” as root.
sudo nano /boot/cmdline.txt
Replace “console=tty1” with “console=tty3”. This moves the boot messages to tty3. Remove all other messages Open “/boot/cmdline.txt” as root and append this line.
splash quiet plymouth.ignore-serial-consoles logo.nologo vt.global_cursor_default=0
Explanation: ‘splash’ : enables the splash image. ‘plymouth.ignore-serial-consoles’ : apparently disables some Plymouth-related components. ‘logo.nologo’ : removes the logo in the upper-left corner during Raspberry Pi startup. ‘vt.global_cursor_default=0’ : removes the pointer. Replace the Startup Screen Now that all the messages are gone, let's replace the startup screen (located at /usr/share/plymouth/themes/pix/splash.png). Put your custom splash.png in /home/pi/, the home directory (~), then run the following command.
sudo cp ~/splash.png /usr/share/plymouth/themes/pix/splash.png
Now restart to see the result.
sudo reboot
The finished result: 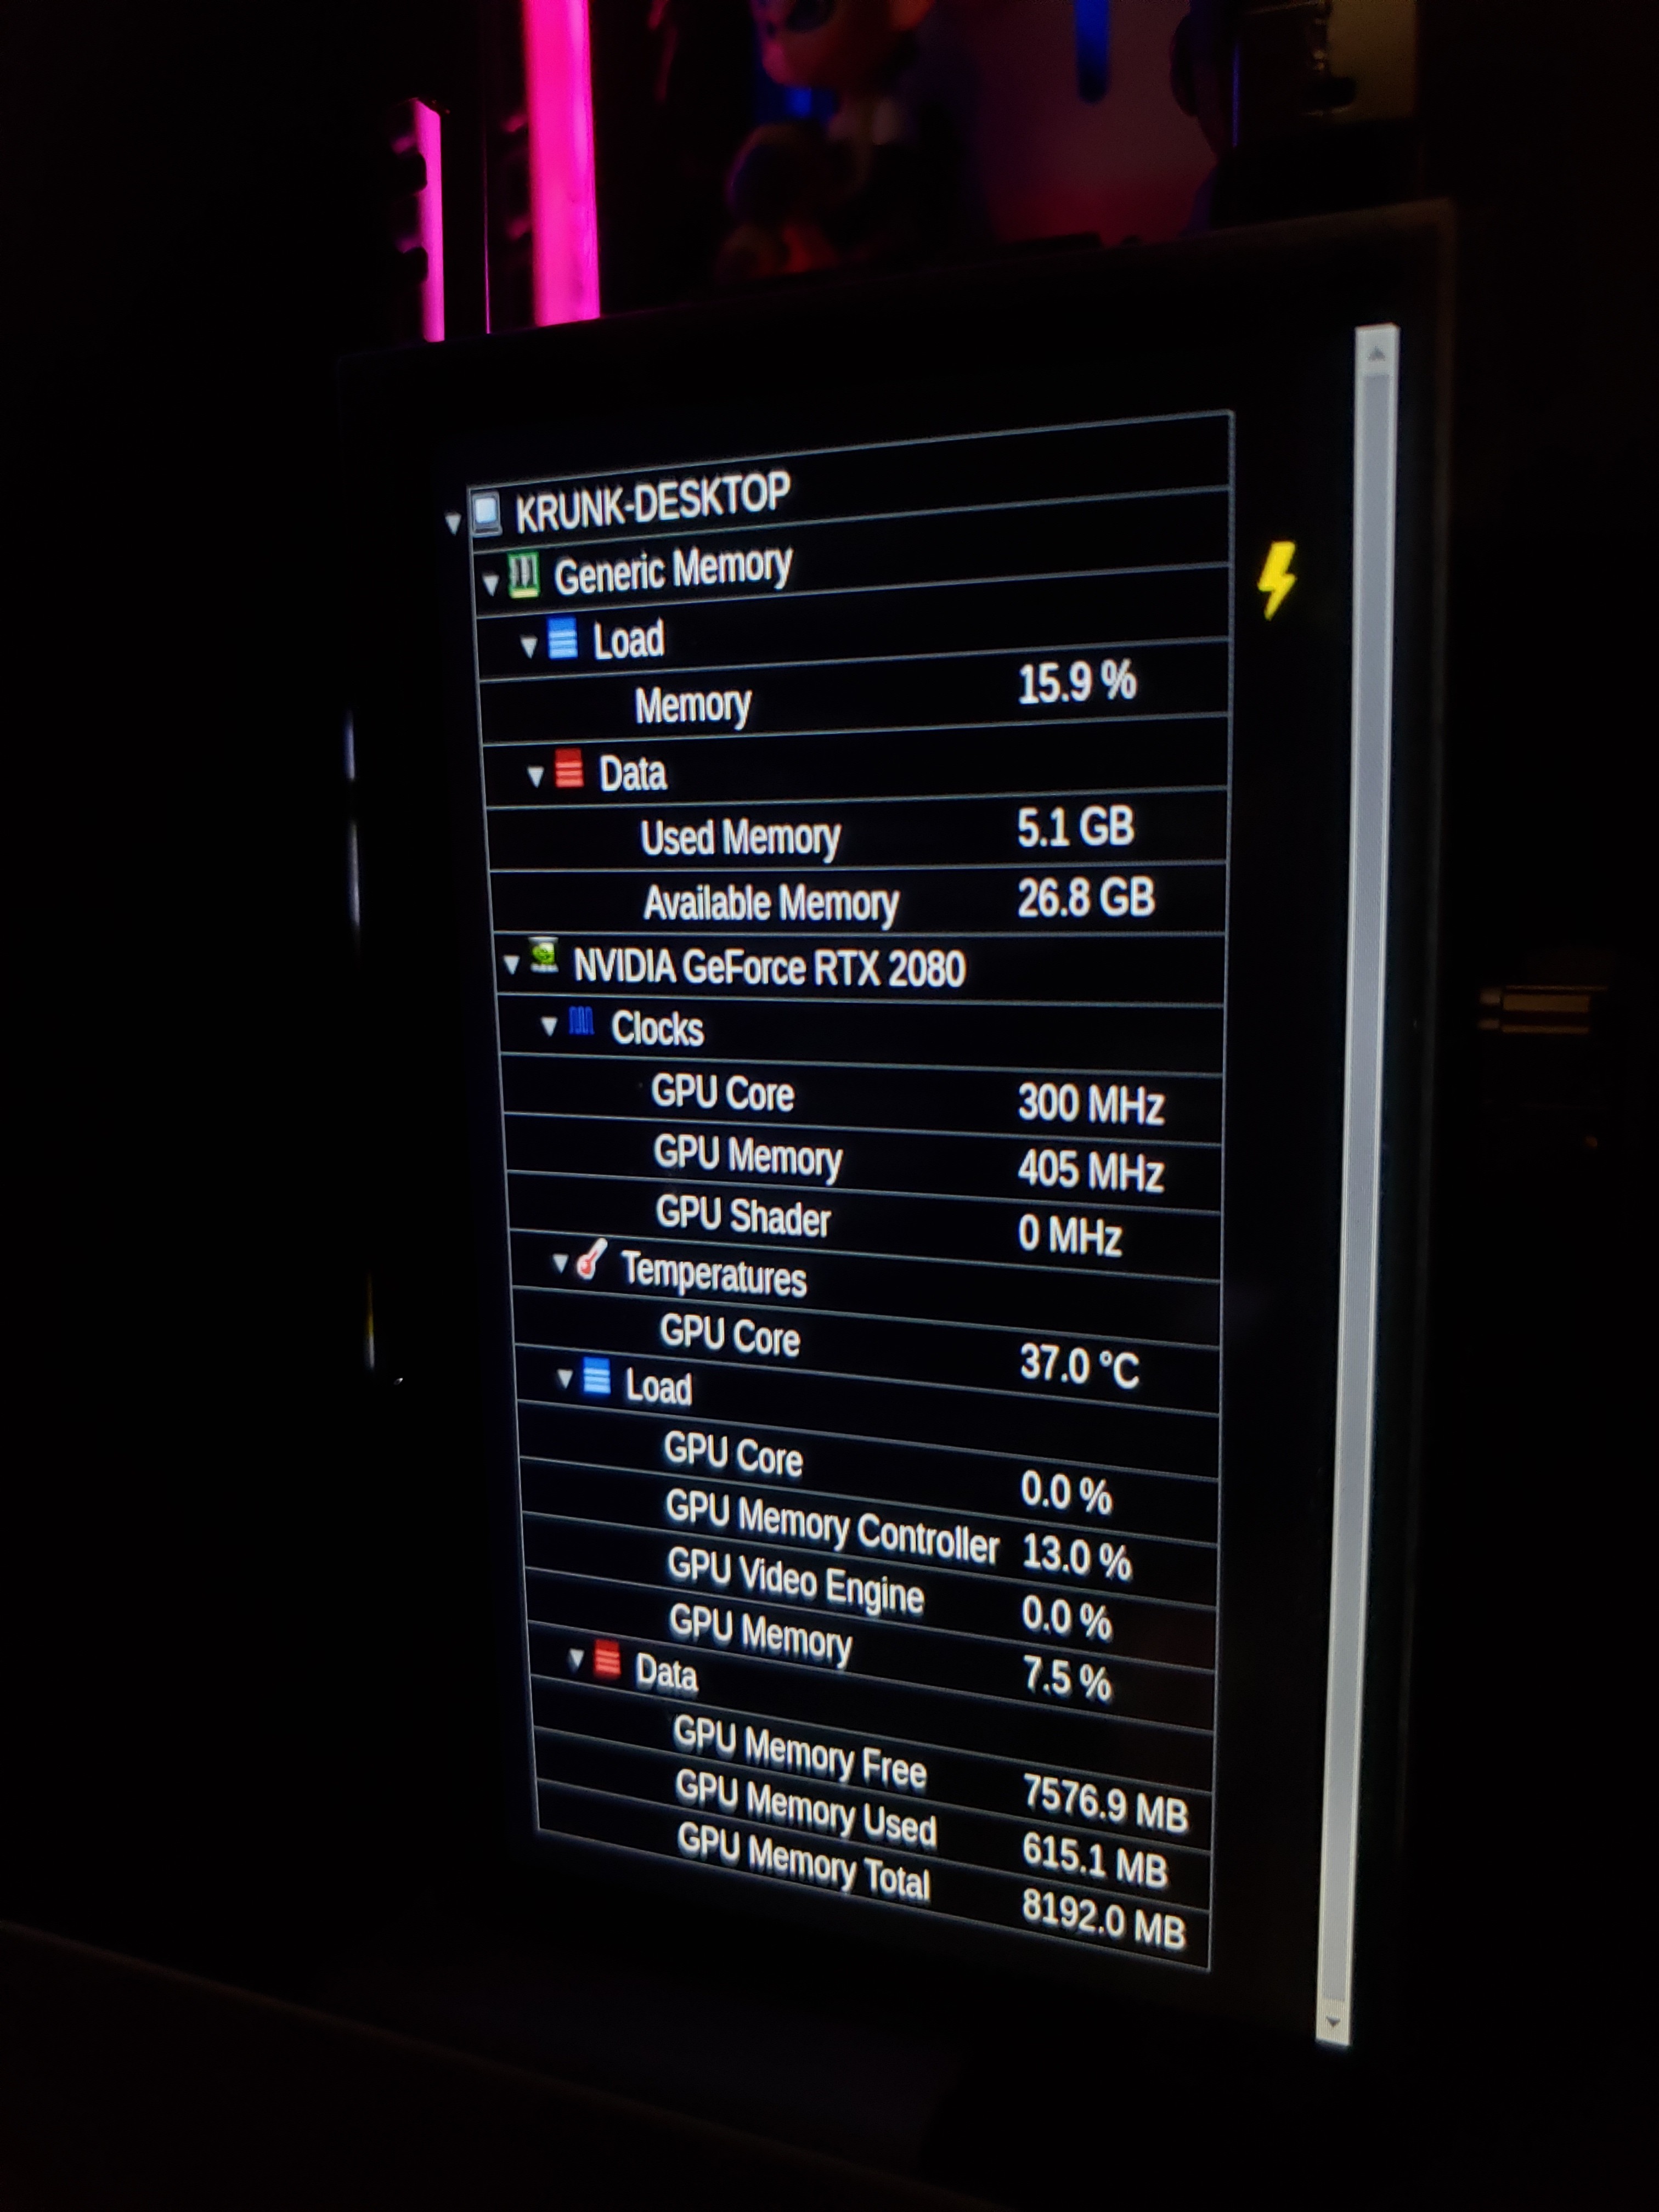
Published 07/10/2019 · Krunk Zhou
Join the conversation