Controlling multiple HomeKit devices with Wio Terminal
With some spare time on my hands, I wanted to try Arduino development. As luck would have it, I spotted the Wio Terminal on sale on Amazon and bought two, thinking I could add a couple of controllers to my home. With so many devices, HomeKit buttons weren't particularly convenient, and I didn't like having to use my phone to control things everywhere I went. That's how this project came about.
Official development documentation: https://wiki.seeedstudio.com/Wio-Terminal-Getting-Started/
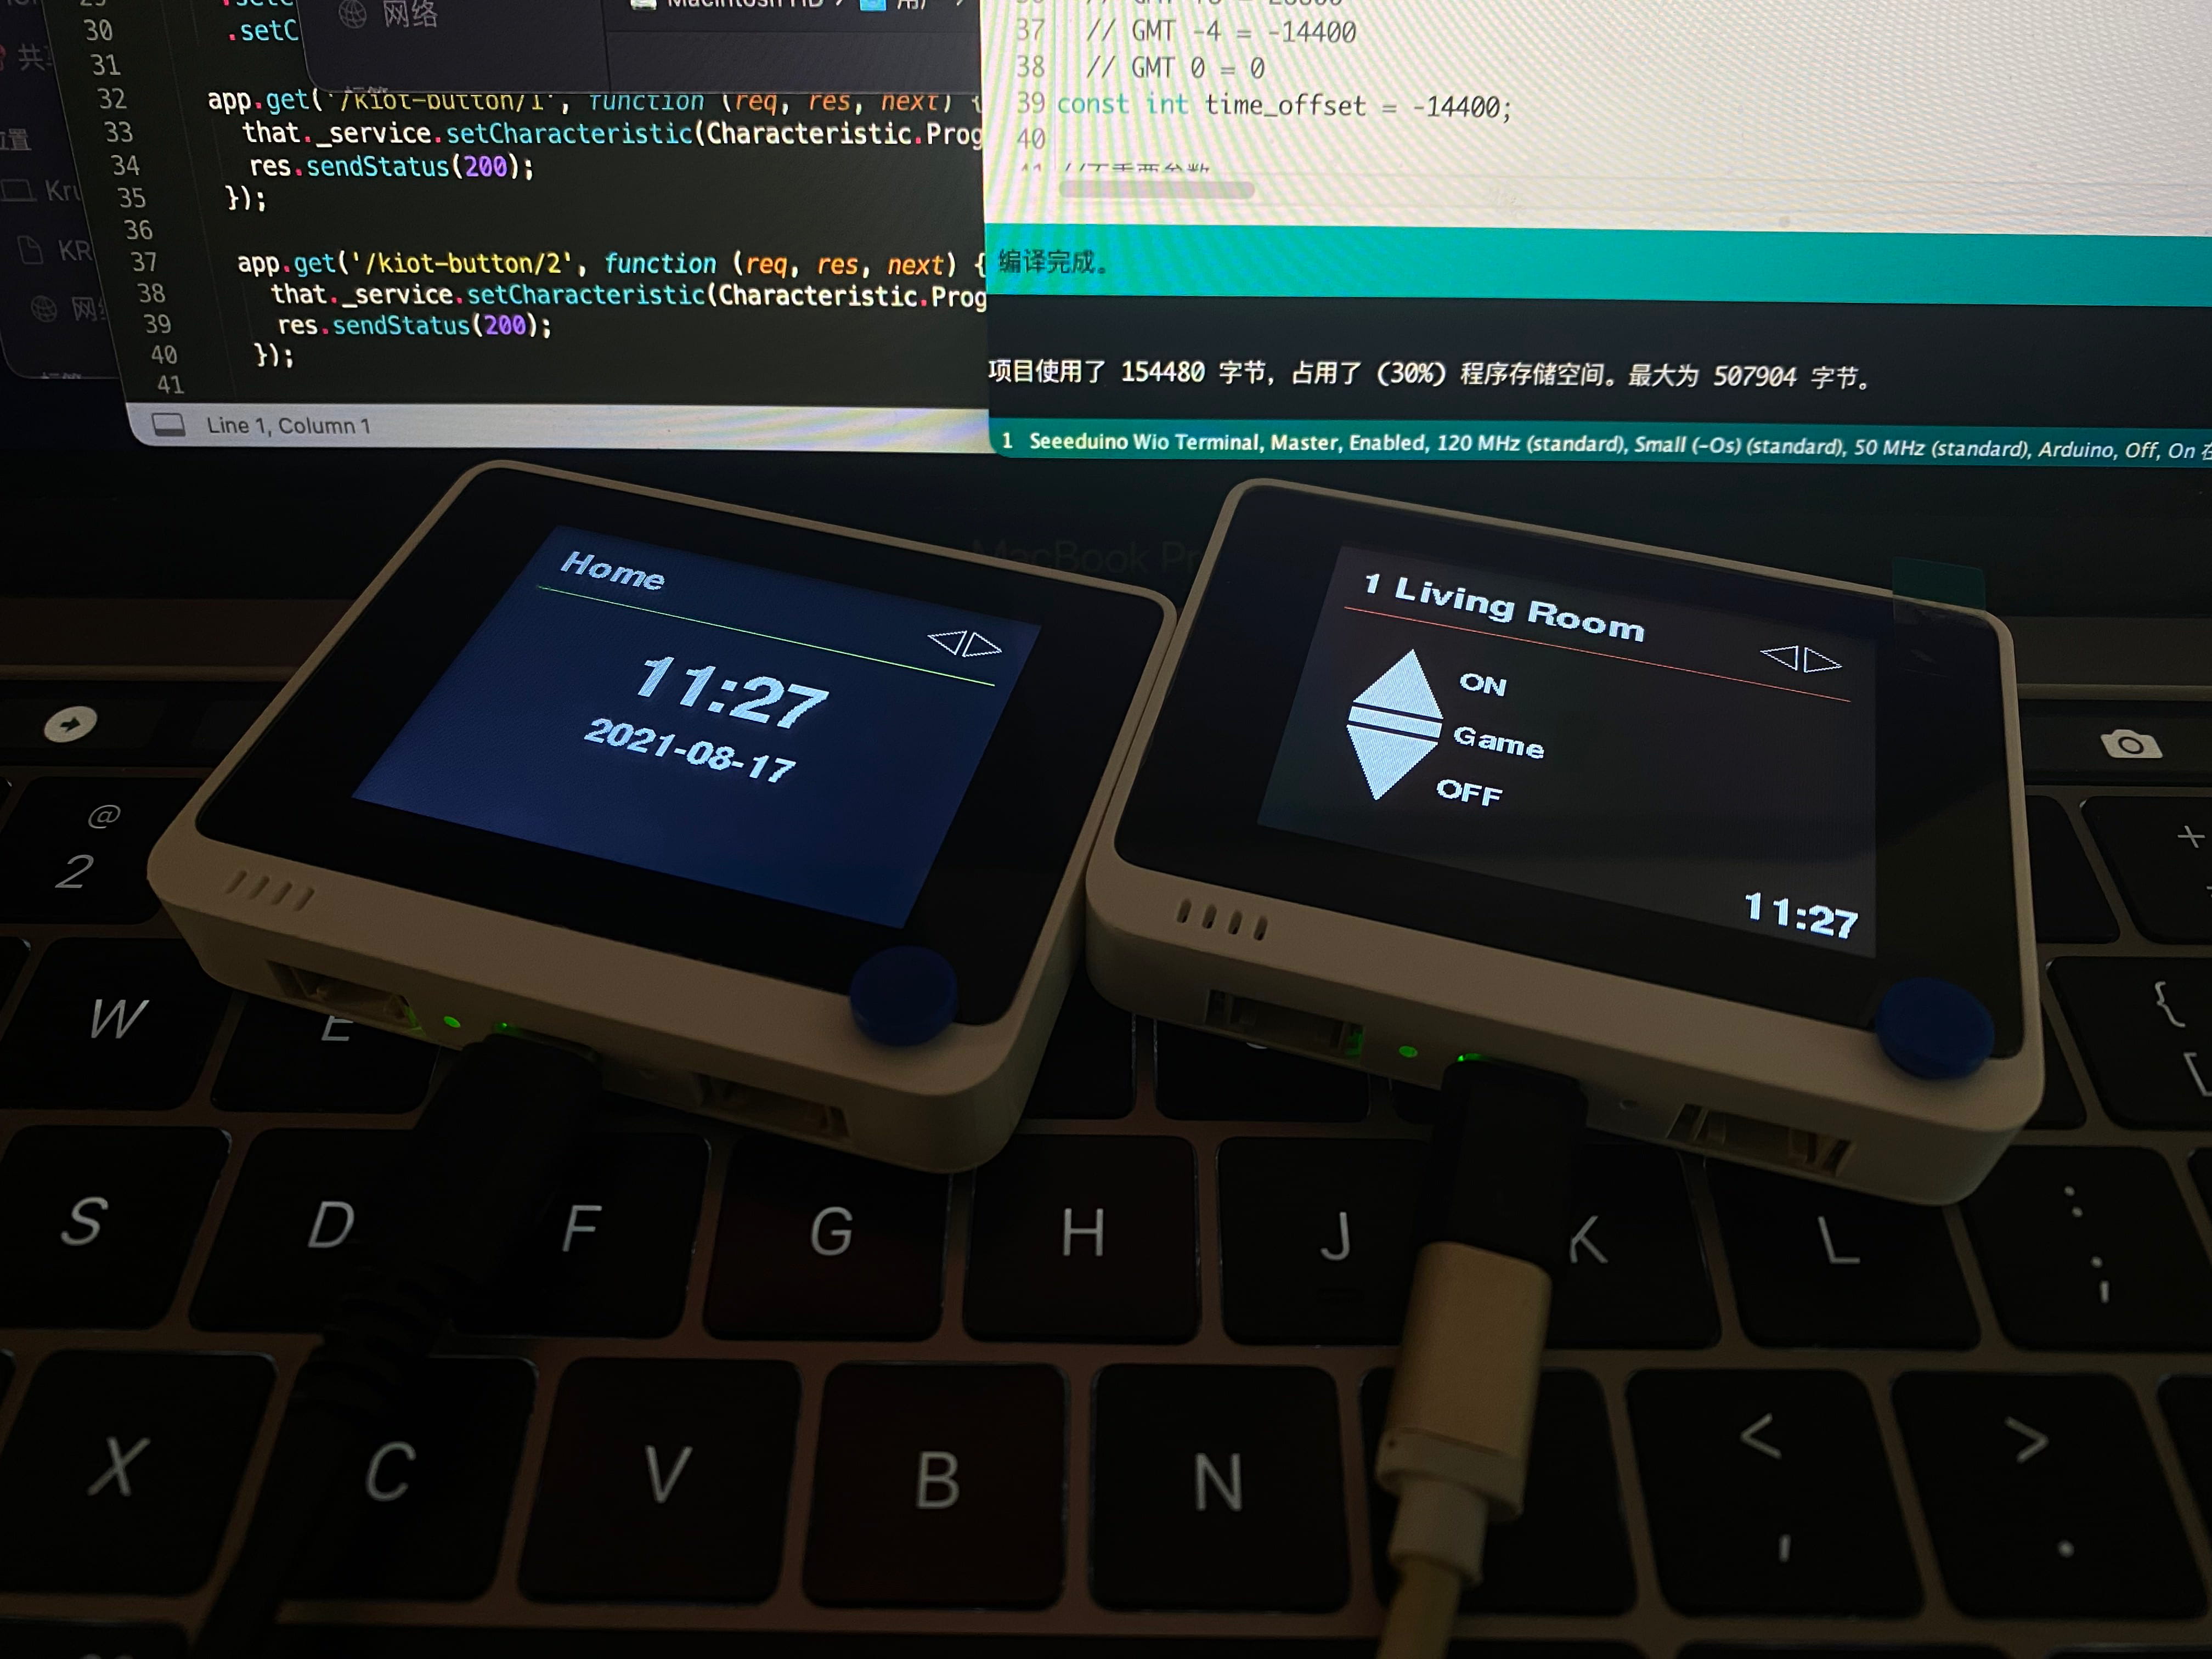
The RTL8720DN apparently cannot directly use something like HomeSpan to integrate native HomeKit support. Since my Mi Home, TP, and similar devices already use HomeBridge, I decided to use HomeBridge to connect this little screen too.
First, let's see it in action:
I designed the home screen and menus myself and added an NTP-synchronized clock. It looks good on the desk and is useful too. When friends visit, I can even tell them I made it myself.
Current features:
- Supports multiple pages. Each page emulates one HomeKit Button and can perform up to three actions.
- A clock display that updates automatically when connected to the network.
- Automatically turn off the screen after a timeout
- Raise to wake, without having to press the lock button manually
- Custom menus with pages defined in an array
- A HomeBridge plugin for defining button ports and names.
Installation notes
The ino file is at Wio/KIOT-Project/KIOT-Project.ino. Open it with Arduino.
Copy the libraries in Wio/libraries into your Arduino libraries folder.
The HB plugin is in the homebridge-kiot folder.
Network Configuration
// WiFi SSID (部分5Ghz AP可能无法连接)
const char* ssid = "KIOT-Terminal";

// WiFi 密码
const char* password = "KIOT-UYDFGW6IdaW";

// HomeBridge地址 不要后斜杠以及ssl
// 如需使用ssl还需要配置公钥
const char* server_ip = "http://10.0.0.86";
HomeKit Buttons
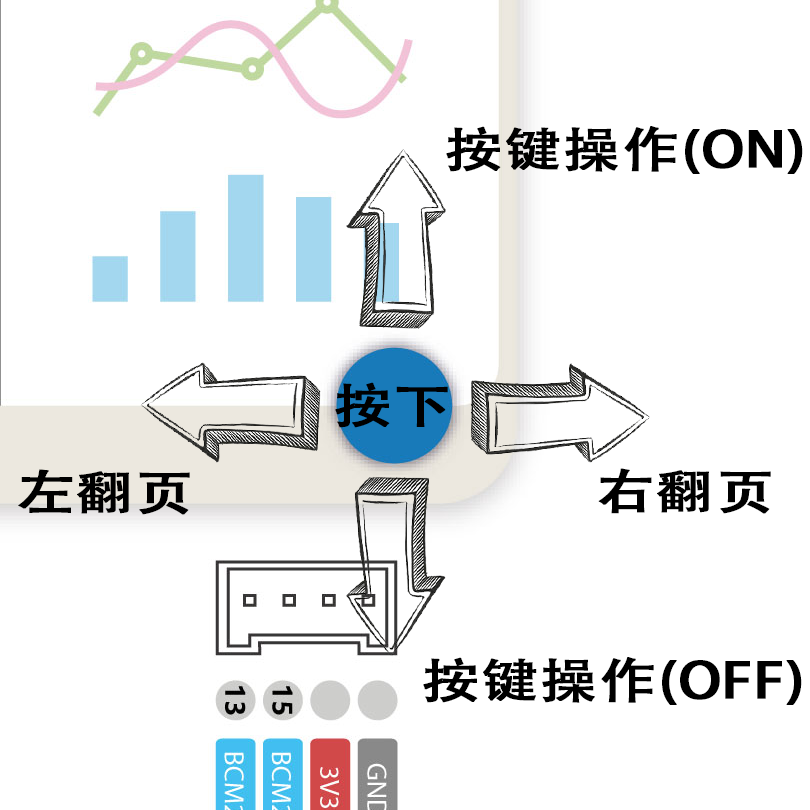
The three functions on each page map to the following Wio Terminal controls:
Single press — push upward
Double press — flick down
Long press — press down
Time Display
Network time synchronization uses NTPClient (https://github.com/taranais/NTPClient/), with pool.ntp.org as the default time server.
Thanks to this simple tutorial: https://randomnerdtutorials.com/esp32-ntp-client-date-time-arduino-ide/
You need to define the time zone yourself.
// 时区offset定义
  // GMT +1 = 3600
  // GMT +8 = 28800
  // GMT -4 = -14400
  // GMT 0 = 0
const int time_offset = 28800;
Automatic screen-off and raise-to-wake
Set the timeout to choose how long the screen stays on after the last interaction.
The IMU wakes the screen when it detects movement. If you turn the screen off manually, this feature stays disabled for 5 seconds.
Custom menus
const String menu_config[7][6] =
{ { "0", "0", "Home" },  //定义首页标题
{ "1", "44002", "Living Room", "ON", "Game", "OFF" },
{ "2", "44003", "Sync Box", "Start", "", "End" },
{ "3", "44004", "Server Fan", "ON", "", "OFF" },
{ "4", "44005", "Dinning Room", "ON", "", "OFF" },
{ "5", "44006", "Nanoleaf", "ON", "Pink", "OFF" },
{ "6", "44007", "Garage Door", "Open", "", "Close" }
};
menu_config[修改为页面总数][6]
{ "编号", "HB端口号", "菜单标题", "向上拨提示文字", "按下提示文字", "向下拨提示文字" }
HomeBridge Plugin
HomeBridge itself is easy to configure. I installed it on my Synology NAS using Docker; installation instructions are available on the official website.
Since I am not very familiar with plugins, I can currently assign only one button to each port. That is fine, though, as I do not need many. My plugin is a modification of HomeBridge-Dummy, so it is fairly simple. (If someone knows how to write a Platform, that would avoid this limitation.)
Installing the HB Plugin
Copy the homebridge-kiot folder into the configuration directory.
Open the terminal in the upper-right corner of the HomeBridge web interface and enter:
npm install /路径/homebridge-kiot
After you run the command, the plugin will appear in the Plugins tab.
Configuration for a single Button
{
    "accessory": "KIOTSwitch", // 插件名 不可修改
    "name": "LivingRoom Switch KIOT", // 按钮名称
    "port": 44002 // 端口号 注意不要与其他端口冲突
}
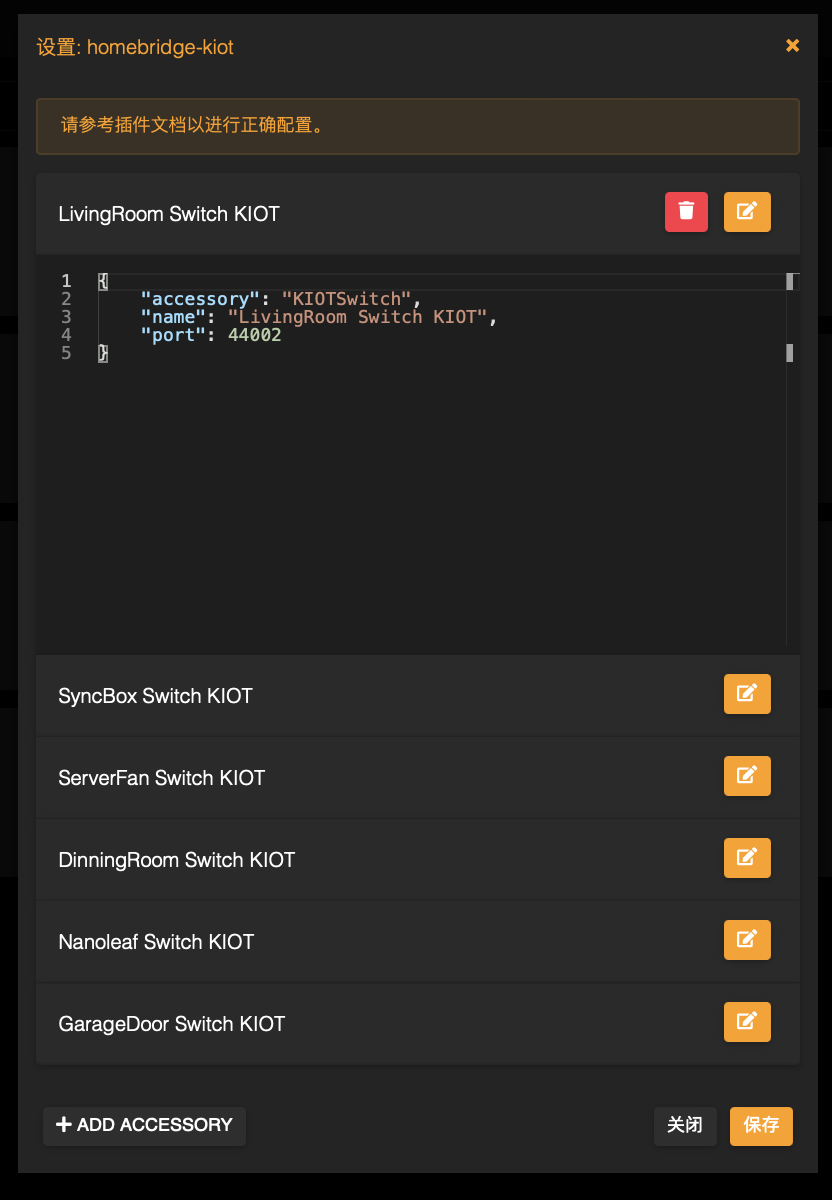
Example of a complete Homebridge JSON configuration (for reference)
{
    "bridge": {
        "name": "HomeBridge",
        "username": "0A:81:3D:E3:84:2B",
        "port": 53780,
        "pin": "031-45-868"
    },
    "platforms": [
        {
            "name": "Config",
            "port": 8581,
            "auth": "form",
            "theme": "auto",
            "tempUnits": "c",
            "lang": "zh-CN",
            "platform": "config"
        }
    ],
    "disabledPlugins": [],
    "accessories": [
        {
            "accessory": "KIOTSwitch",
            "name": "LivingRoom Switch KIOT",
            "port": 44002
        },
        {
            "accessory": "KIOTSwitch",
            "name": "SyncBox Switch KIOT",
            "port": 44003
        },
        {
            "accessory": "KIOTSwitch",
            "name": "ServerFan Switch KIOT",
            "port": 44004
        },
        {
            "accessory": "KIOTSwitch",
            "name": "DinningRoom Switch KIOT",
            "port": 44005
        },
        {
            "accessory": "KIOTSwitch",
            "name": "Nanoleaf Switch KIOT",
            "port": 44006
        },
        {
            "accessory": "KIOTSwitch",
            "name": "GarageDoor Switch KIOT",
            "port": 44007
        }
    ]
}
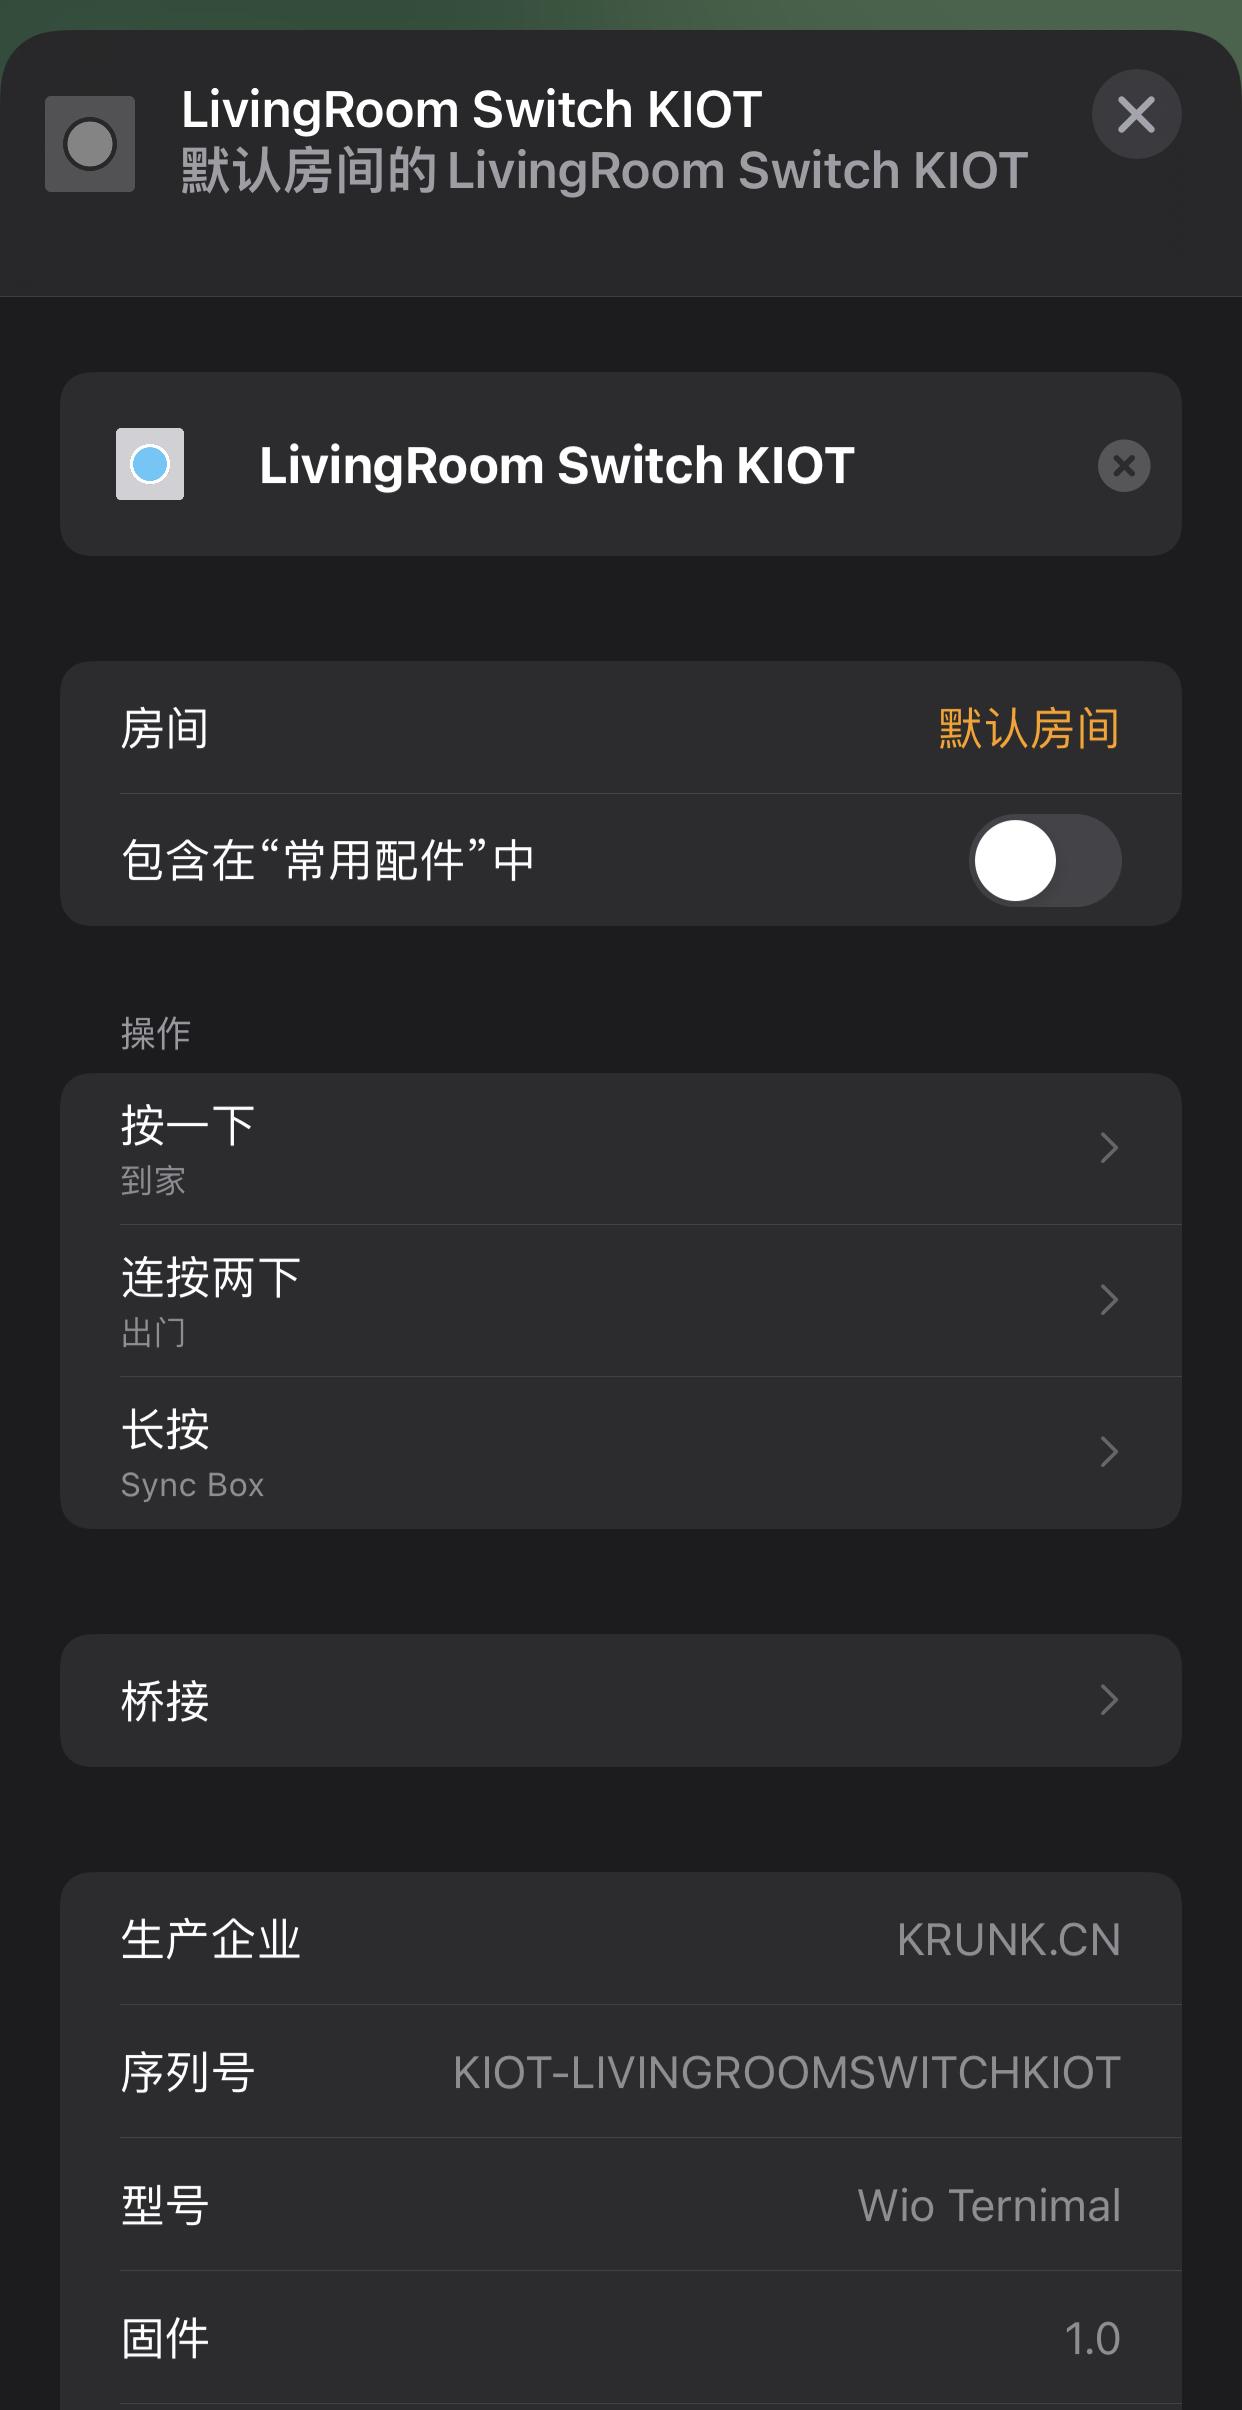
After configuring it and restarting, these buttons will appear in the Home app.
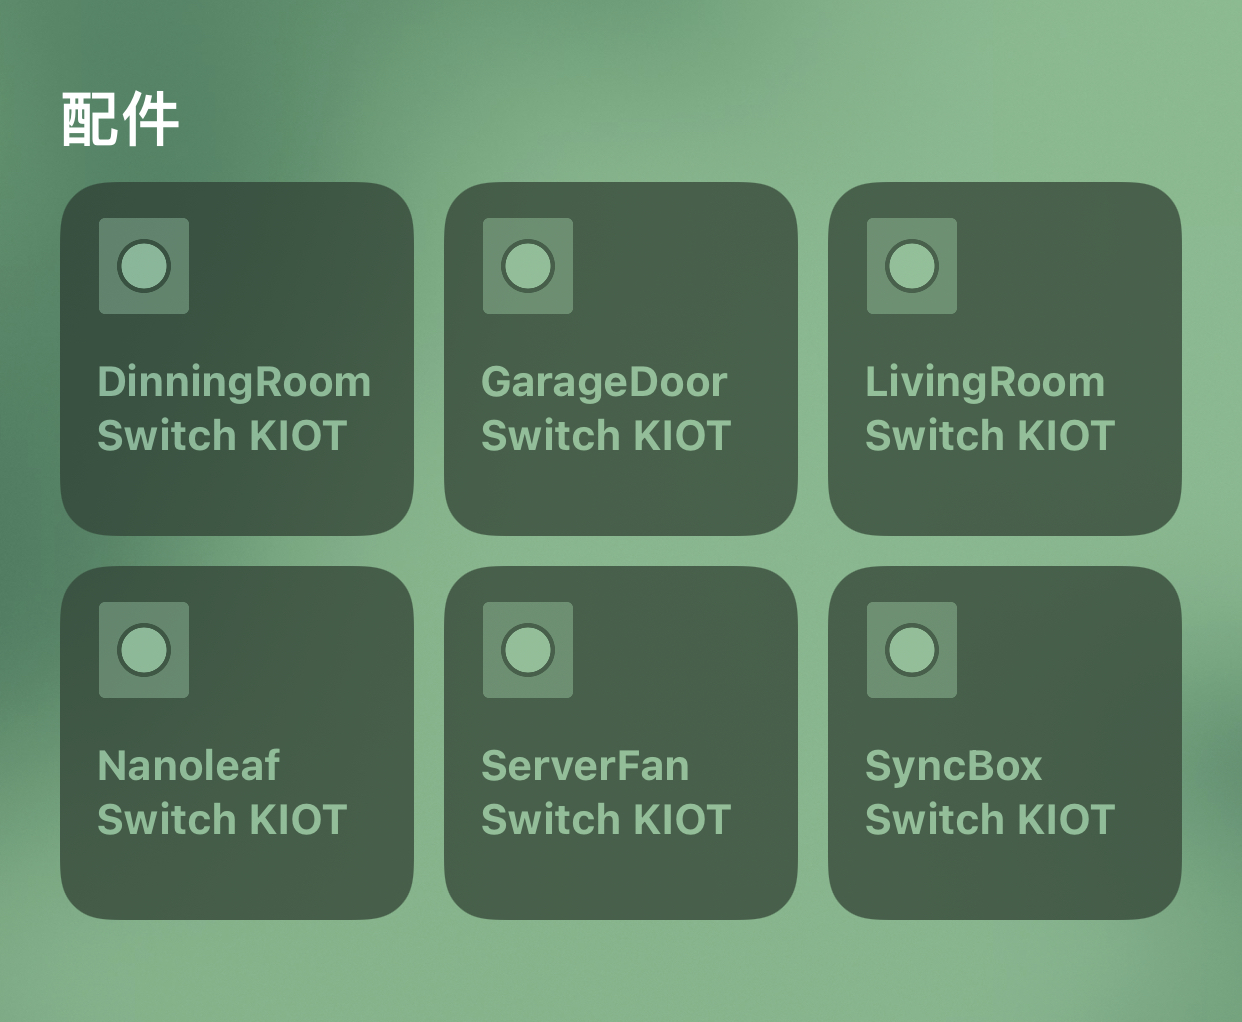
Start Wio Terminal, and you should be able to control these buttons.
Download:
Published 08/17/2021 · Krunk Zhou
Join the conversation